In the world of the Internet of things (IoT), the most versatile thing is a full-blown computer. Most people (including myself) are too cheap for that, so the makers of Raspberry Pi decided to make a cheap computer that almost anyone can afford. Setting it up isn’t as easy as a normal computer. There are plenty of Raspberry Pi setup tutorials out there (I will be sending you to some of them), but few of them, in my opinion, will set you up from start to finish with a working computer.
Not only this, but if you are a web developer like me, you’ll want to host your own websites with this! This is one of many tutorials on setting up a web server on the Pi using the fun .NET Core. You don’t have to learn the less fun PHP that Linux likes so much.

Also, if you have no idea how Linux does all the things, I’m hoping this will get you through without having to know any Linux things that do stuff. Sure, you’ll have to open up a scary terminal window a couple of times, but I’ll walk you through it.
First, I like to be very obvious. You need a Raspberry Pi. But which one? There’s like a zillion of them!
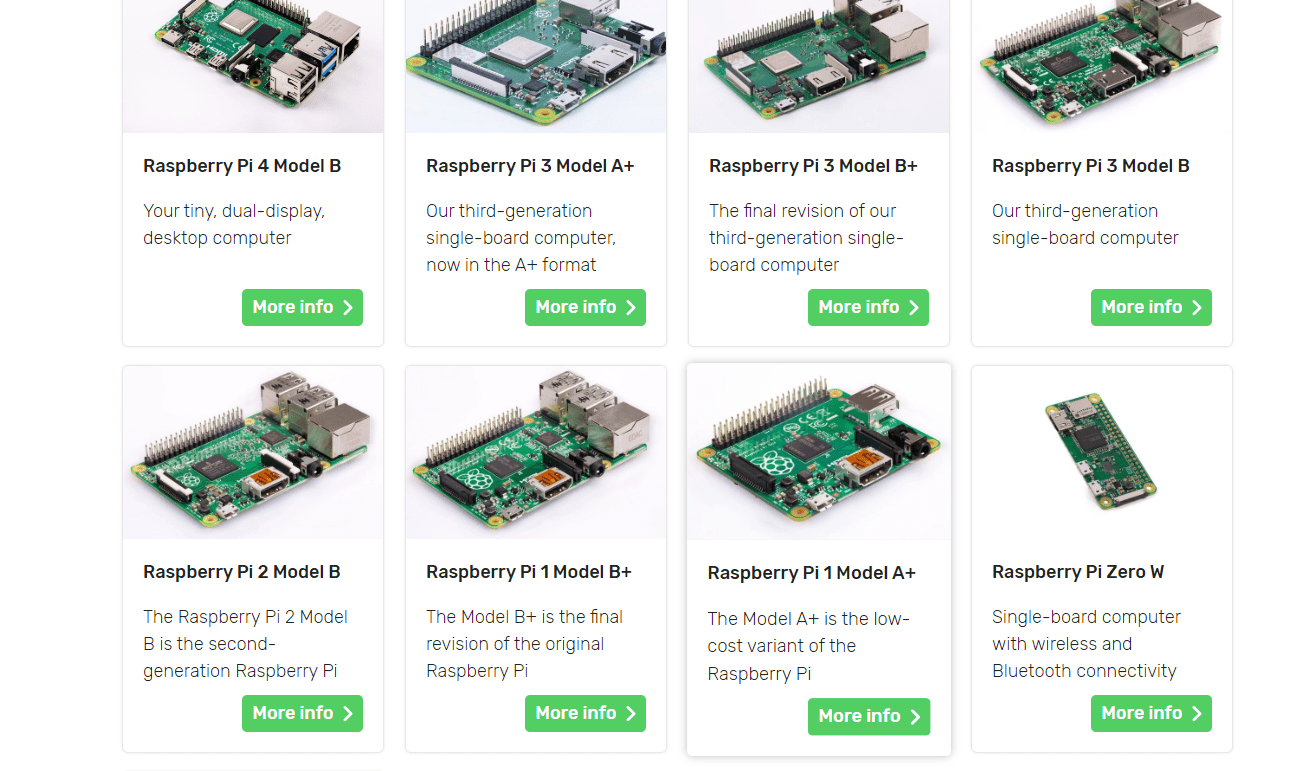
Ok … more like 9. Anyways, it depends on what you want to do. If you’re just starting and you want to do things with a computer with the least amount of setup, go with the 3B+ (it’s a little cheaper). Otherwise, go with the 4. This tutorial will cover either of those.
When you want to figure out how much it costs, keep in mind it’s more than just the Pi. You’ll need some other components as well.
Any HDMI monitor will do, although I’ve had issues with some off-brand monitors not liking the Pi for some reason. I used a 4K 52” TV. It looked amazing in all of its tiny HD pixels.

Most of the USB keyboard/mice out there will do. I recommend one that lights up because it looks cool and makes you look like a pro.
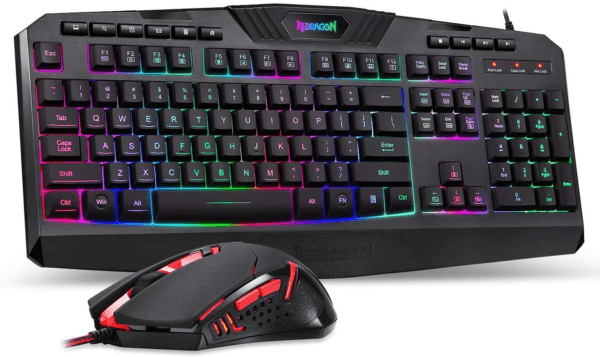
You’ll need these things only for setup, so if they are hooked up to a computer you already own, you can use those, and I’ll show you how to remotely access it from another computer.
Disclaimer: Technically, don’t NEED any of these. There’s a way to set it up without it. However, I’ve tried it that way…over and over again with no success with different Pis and versions of its Operating system. If you like to experience repeated failure at a higher rate than I could tolerate, then I suggest not getting a keyboard/mouse/monitor.
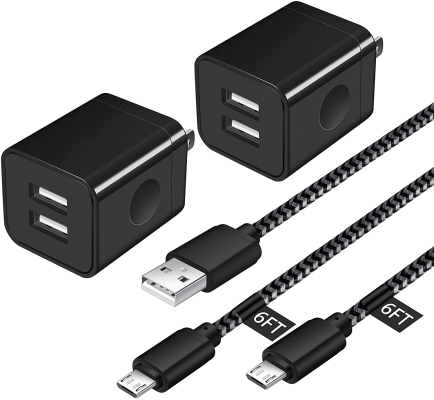
If you have a Pi 4. You need a USB-C charger (or the charger to your phone if it was built in the last couple of years)
If you have a Pi 3B+. You need a plain old mini-USB charger.
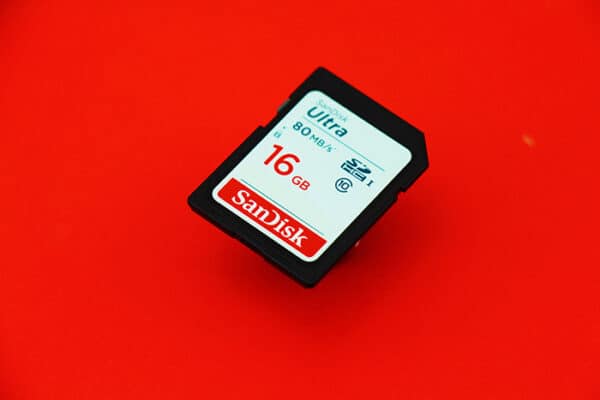
I wouldn’t use anything less than 16GB – I tried an 8 (they said you can do that), and I quickly ran out of space with the libraries I was using. Most of these come with an adapter.
But WHY?
A Raspberry Pi is not like other computers. It boots off of this one mini-SD card. Get one. It will not run without it. I’ve also found that if you buy a kit to set up your Raspberry Pi with stuff already set up for you on it, it may not actually work. You’ll have to wipe it if that’s the case.
Like the one in the screenshot above, you can also use one of those flash Drive -> SD card adapters.
You’ll need a WiFi network to download all of the updates you need.
You also need a plain old HDMI cable to hook the Pi up to a monitor.

Notes:

After you get all that stuff, here’s how to set it up.
You need to get the latest Operating System installed on the Pi. The Pi most commonly runs on Debian (Also known as Raspbian, and it has a bunch of different versions). That’s the OS I’ll walk you through here.
Fun fact: each version of Debian is named after a Toy Story character.
If you have a Pi3, you can’t use the latest version of Debian, you need to use the Stretch version of Debian (Some random octopus character from Toy Story 3). For the Pi 4, you want to run the Buster version of Debian (the puppy from Toy Story 2).
1. Insert your SD Card, then open up your file explorer, and it will show up on the left.
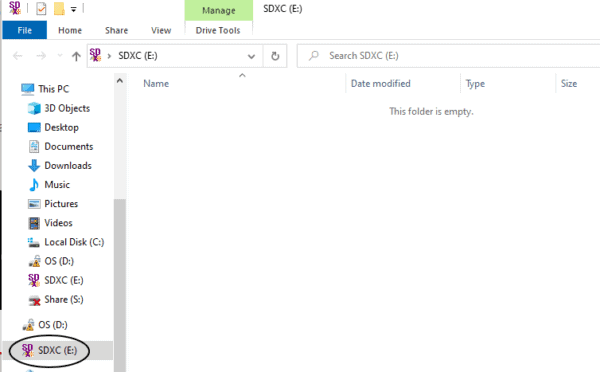
Yours might show up as the letter D as I have more than one drive on my PC.
You can download the imager for your little SD card by going here; it’s the first link on the page. Note that you might not be able to access it. That’s because you might not even have a partition on your SD card, and that’s ok; just keep going.
2. Install the program from downloads. Once it finishes, it will open the program.
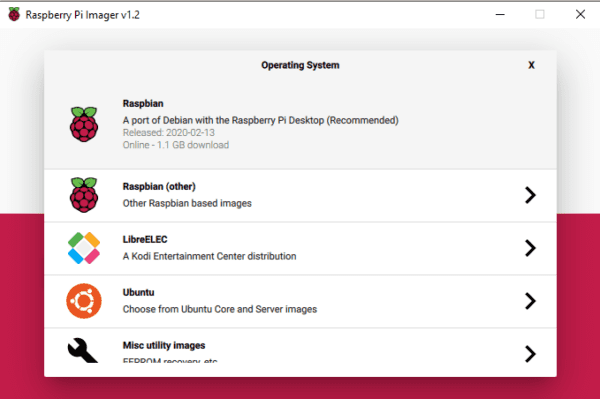
3. You want to select the first option (Raspbian) for this tutorial. (I’m not sure all of the limitations on this, but I do know that I’m running a web server with .NET Core/REACT and a build/release agent on it, so regular Raspbian (a version of Debian) can handle all that).
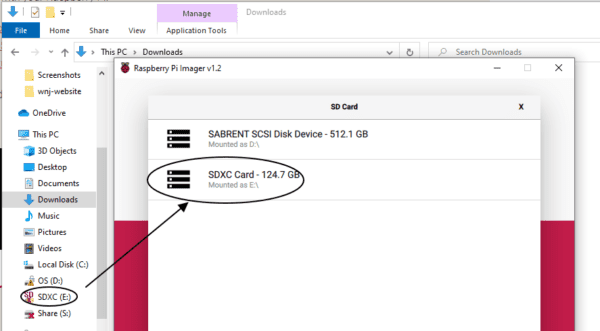
4. When you select the SD Card, remember that drive letter from step 3? Select that drive.
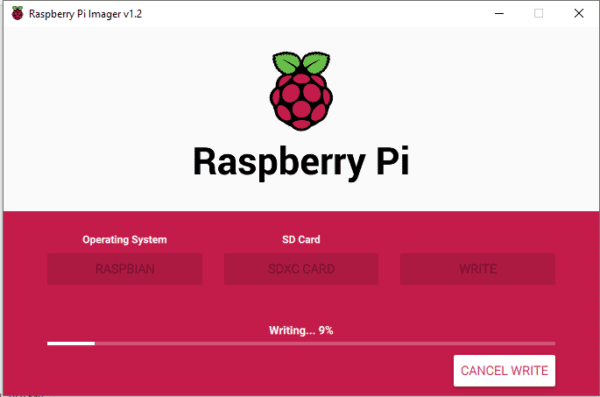
5. Then click on Write – note that this can take a little bit – I have a fairly fast laptop, and it took me 5-10 minutes to complete.
6. After this is done, take out your SD card and put the mini-SD into the little slot at the bottom of the Raspberry Pi.
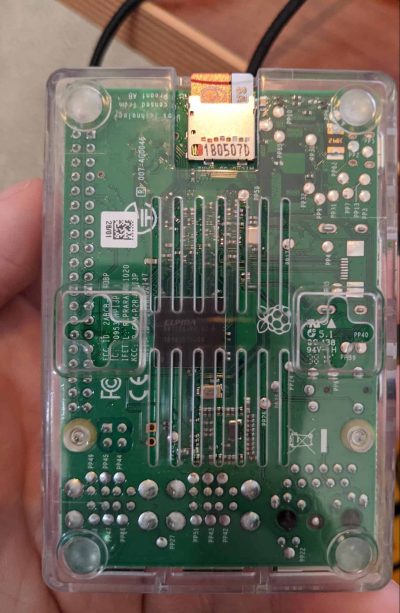
7. When you’re done, the setup instructions on the pi will help you connect to a network and change your password.
8. After that’s done to make sure you have the latest version of whatever version of Debian (If you got Buster, it would give you the latest and greatest Buster, if you go with Stretch, the latest and greatest Stretch). To do this, you have to open up the scary Terminal window.


Next, run these commands to start the upgrade process:
sudo apt update
sudo apt full-upgrade
These commands could take a while. So go get a sandwich. Then type in the following command:
sudo reboot
When you run this, your Pi will restart, so don’t freak out when everything goes black.
9. Congratulations, you did something. Your computer works.
These things are all well and good, but what if something doesn’t go right? I had a bad SD Card, my monitor wasn’t working, and the installation didn’t work the first time. If this sounds like something that happened to you see, keep an eye out for part 3 of this series, where I give a tutorial on how to wipe an SD Card.
Also, If you aren’t burnt out on setting up your Raspberry Pi, you can set up a remote desktop. This lets you log in to your Pi if it’s on the same network as your computer. It will display a screen of your Raspberry Pi that you can do whatever you want in without actually having to run a dedicated monitor/keyboard/mouse. That way, you can just be cheap and use them for setting up the Raspberry Pi and use the other stuff on a computer you actually care about. If that’s something you want to set up, go here. It’s probably the best tutorial that I’ve found.
Be sure to check out the whole Raspberry Pi series:
We love to make cool things with cool people. Have a project you’d like to collaborate on? Let’s chat!
Stay up to date on what BizStream is doing and keep in the loop on the latest in marketing & technology.